

A Step-by-Step Guide to Integrating Zapier with GPT Builder for Passive Income
- Darren Lawrence

- Nov 12, 2023
- 5 min read
Updated: Dec 2, 2023

In today’s digital age, the quest for passive income has led many to the frontiers of technology, where automation and artificial intelligence (AI) open up new realms of possibility. Among the tools at the forefront of this revolution are GPT (Generative Pre-trained Transformer) and Zapier, each a powerhouse in its own right. GPT, particularly in app development, offers unparalleled capabilities in AI-driven content generation, while Zapier simplifies life by automating tasks across various applications. This post aims to be your guide in combining these two formidable technologies — integrating Zapier actions into the new GPT Builder — to create applications that not only serve but also become a source of passive income.
Understanding GPT Builder and Zapier
GPT Builder Overview
GPT Builder stands out as a revolutionary tool in the realm of AI. It allows users, even those with minimal coding experience, to craft applications that leverage the power of advanced AI models. This platform isn’t just about creating apps; it’s about embedding intelligence into them, making them not only functional but also interactive and responsive.
Zapier Overview
Zapier acts like a digital glue, connecting over 2,000 web apps. It automates tasks by creating a bridge between different applications, allowing them to communicate and work together seamlessly. With Zapier, tasks that would typically require manual effort can be automated, streamlining workflows and increasing efficiency. For instance, if you’ve created a content generation app, you could use Zapier to automatically publish this content on various platforms.
Here’s how to create a GPT:
First, you’ll need to set up your GPT Builder account. This involves signing up with ChatGPT plus and acquainting yourself with the interface. Start by exploring the basic functions and understand how you can begin your app development journey.
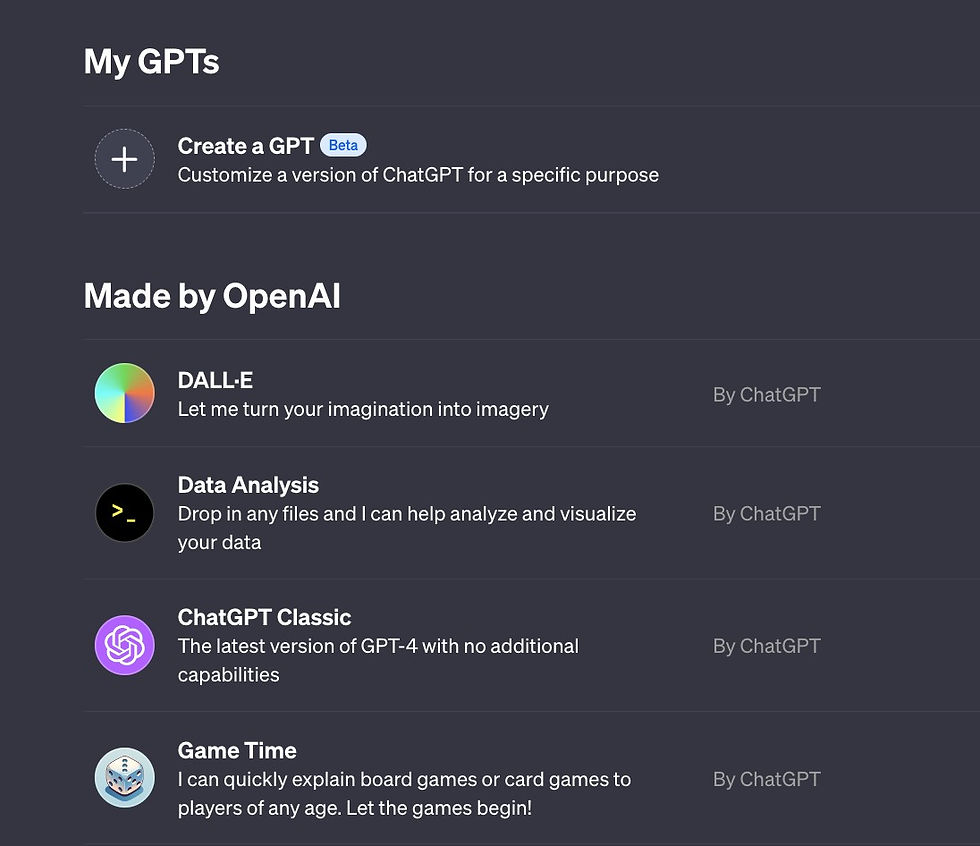
Head to https://chat.openai.com/gpts/editor This is where you can build and configure your unique bot (or select your name and then “My GPTs”)
Once you’re on the editor page, click the “Create a GPT” button to get started. This will open up a chat interface where you can message the GPT Builder assistant to help guide you through the creation process.
Explain to the Builder bot what you want your GPT to do by providing a brief description such as “Make a bot that generates ideas for blog headlines” or “Create a GPT that can summarize long articles.”
After initializing the building process through the chat, head over to the Configure tab to name your bot, write a description, and select capabilities like web browsing or image generation. Customizing these settings allows you to define the precise skills and functions you want your GPT to have.
When your bot is ready to go live, click the “Publish” button to make it usable. This gives your GPT a unique URL that you can share with others. Published GPTs can also be integrated into apps and websites.
ADVANCED: Configure your GPT chatbot in the Configure tab:
Adding an Image — You can have the GPT Builder generate an avatar image for your bot, or upload your own image like a logo or character.
Additional Instructions — This text box allows you to provide detailed guidelines on how you want the bot to communicate, what its primary functions should be, and any behaviors or content types it should avoid.
Prompt Starters — These are sample prompts a user could say to kickstart a conversation with your bot. Helps them understand how to properly interact with it.
Knowledge — Upload any data sources, articles, or contextual info you want your GPT to reference when generating responses. Anything uploaded here could be incorporated into the bot’s outputs.
New Capabilities — Enabling options like web browsing, DALL-E image creation, and data analysis gives your GPT additional functionalities beyond basic chat.
Custom Actions — You can connect your published GPT to external APIs by providing technical details like endpoints and parameters. This allows it to pull data from other sources. You can also import existing plugin code.
Now you’ve created a GPT!

Configuring Zapier Actions for your GPT
Similarly, create your Zapier account. The platform has an intuitive dashboard that you’ll need to get familiar with. Understanding how to navigate through this will be crucial in automating tasks later on. Below is a step-by-step guide, but you can also find more information here: https://actions.zapier.com/docs/platform/gpt.
Here is our guide:
1. Copy this special URL to your clipboard:
2. Create a new GPT in ChatGPT by clicking Create a New GPT on the My GPTs page.
3. Click Configure to see settings of your GPT.
4. Scroll down and click Add actions.
5. Click Import OpenAPI Schema and paste the special URL above into the https://... box and click Load.
6. You will see a bunch of text appear in the box. At the bottom right click Save.
7. You’ve now added Zapier AI Actions to your GPT! You will need to provide some instructions to the GPT so that it understands how to use Zapier AI Actions. More details below.
When building a custom GPT chatbot that uses Zapier’s AI Actions capabilities, you need to provide instructions for the user on how to leverage the actions.
To specify an action, use the base URL:
Then add two query parameters:
1) setup_action — This is the name of the action like “Google Calendar Find Event”
2) setup_params — Optional additional instructions for field values. You can specify to:
Set specific values
Have the AI guess values
Omit certain fields
For example, to setup the “Google Calendar Find Event” action and have the AI guess the Start Time and End Time, the full example URL is:
So in your GPT chatbot prompts, you would provide this example URL along with explanatory text to show the user how to leverage that integrated action.
The key is using the base URL with the two query params to specify the AI action name and any field configurations needed. This gives your GPT bot access to those powerful actions through easy natural language instructions.
AI Actions into a GPT chatbot:
At the end of your existing GPT instructions, add this template:
First, tell the user you will check if they have the needed Zapier AI Actions enabled by calling the /list_available_actions API endpoint.
If any required actions are missing, provide the configuration URL for the user to setup that action. For example:
Have them confirm once they have enabled the action.
Then use the action ID from /list_available_actions to populate the run_action API call to leverage that Zapier action. Insert the user’s request to customize fields as needed.
List any essential actions they need to enable. For example:
Action: Google Calendar Find Event Confirmation Link: [URL to setup action]
Action: Slack Send Direct Message Confirmation Link: [URL to setup action]
Add explanations that the user needs to respond after completing each action to continue the conversation.
You can find the template here: https://actions.zapier.com/docs/platform/gpt
This template provides the key steps for checking required actions, configuring missing ones, confirming setup, and running actions dynamically based on the user’s request.
Monetization Strategies
Strategies for Passive Income
There are several ways to monetize your GPT-powered app. You could opt for a subscription model, introduce in-app purchases, or use ads. The strategy you choose should align with the nature of your app and your target audience.
Maximizing Earnings with Automation
Use Zapier to enhance your app’s functionality, thereby increasing its appeal. Automation can help keep the app content fresh and engaging, increasing the likelihood of monetization.
Best Practices and Tips
Designing User-Friendly Apps
The success of your app largely depends on its user experience. Make sure it’s intuitive, easy to navigate, and genuinely useful. A well-designed app keeps users coming back.
Optimizing Zapier Integrations
When setting up Zaps, it’s crucial to focus on efficiency. Test your automations thoroughly and ensure they’re working as intended. Effective Zaps can significantly enhance your app’s performance.
Some common processes Zapier helps streamline include:
Saving attachments from email directly into cloud storage - Creating calendar events and reminders based on tasks or notifications - Backing up social media posts to an archive - Organizing customer data as it comes in via forms - Sending order confirmations upon online purchase - Assembling list of leads from newsletter signups

Conclusion
Integrating Zapier with GPT Builder opens up a world of opportunities in app development, especially for those looking to generate passive income. While this post provides a foundational guide, the field is vast and ever-evolving. Experimentation and continuous learning will be key to your success. The future of app development is bright, and with tools like GPT and Zapier, it’s also more accessible than ever.
